After a bit of a pause, I have gained full understanding and use of the control module. I can now interface with the click-wheel, the focus/shutter button and the small auxiliary button, and use them to drive the menu system.
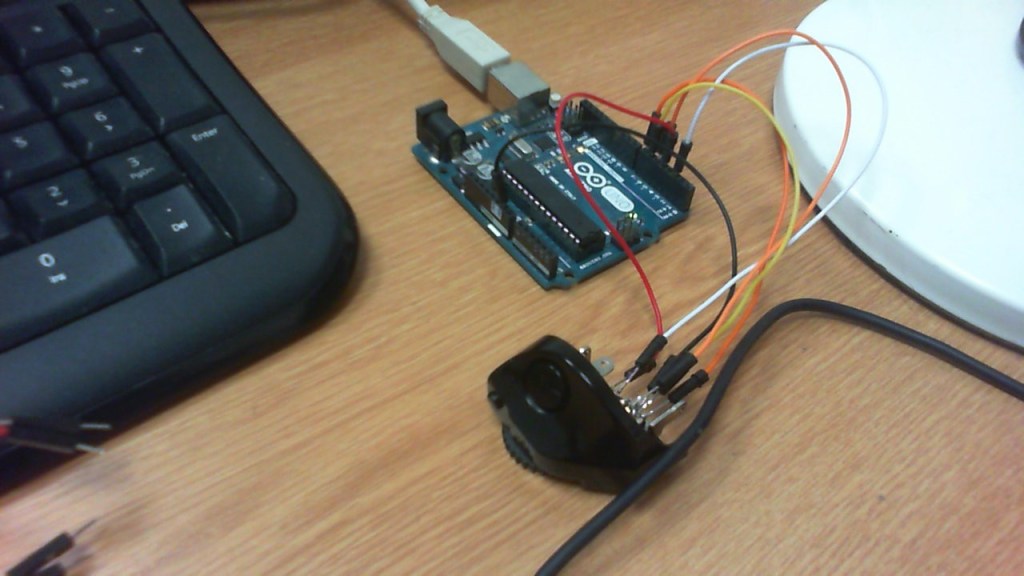
The interface was comparatively simple in the end. It was possible to see which contacts performed which action, and this was confirmed via use of a multi-meter on continuity mode.
There is a common GND for all switches. By pulling the other contacts HIGH internally to the Arduino (using “PinMode(x , INPUT_PULLUP);” ), activating the switch causes a HIGH to LOW transition.
The focus/shutter button is a two-stage switch. Half-pressing connects the focus pin to GND. Full-pressing also connects the shutter pin to GND.
The AUX button is a simple switch.
The click-wheel acts in the same way as other commercially-available rotary encoders. One pin acts as “CLK”, while the other acts as “DIRECTION”. When the CLK pin transitions from HIGH to LOW, the interrupt routine checks the status of the DIRECTION pin. If it is HIGH then the wheel has been turned in one direction; and if it is LOW then the wheel has been turned in the opposite direction.
A small 100nF capacitor is recommended at the Arduino end of both CLK and DIRECTION lines, to avoid glitches from switch bounce.
I programmed the menu system with a variety of shutter speeds:
Bulb, 30s, 15s, 8s, 4s, 2s, 1s, 1/2, 1/4, 1/8, 1/15, 1/30, 1/60, 1/125, 1/250, 1/500, 1/1000, 1/2000, 1/4000
and the click-wheel selects which shutter speed is active.
Pressing the AUX button displays “AUX” on the screen.
Half-pressing the focus/shutter button displays “FOCUS” on the screen, and fully depressing the button replaces this with “SHUTTER”.
